To create a new company, click on the CRM option from the main toolbar.

Click on the Create a New Company button.

The Company Type, Company Name, and Primary Contact Name are required, but the more information, the better so it is recommended to provide as much information as possible.
Watch a short video tutorial on how to create a new company!
Use the checkbox(es) to indicate the customer type:
- Customer:
Select this option for clients/end-buyers/companies requesting promotional products - Supplier*:
Select this option for vendors/manufacturers - Decorator*:
Select option for imprinters/companies that will imprint/decorate supplied items
*If the vendor provides both products and imprinting services, you can select both of these options for a single company.
In the Company Name box, type the name of the organization. If your ESP+ is integrated with your QuickBooks Online, you can use the slider to have this company added to QuickBooks during this creation process.
Use the Website box to type the company's website address and click on the Search Brand button to source the company's logo, icon, and primary brand color.
Next, enter the Primary Contact's Name in the available boxes followed by their email address if available.
Selecting a role is important for the order documentation, so if the primary contact is the point person at the company for approving orders, billing, and/or shipping information, use one, two, or all three checkboxes. If you need to add more contacts for company, you can do so at any time.
If available, add a phone and an physical address for this company.
When you are finished entering information, click on the Create Company button.
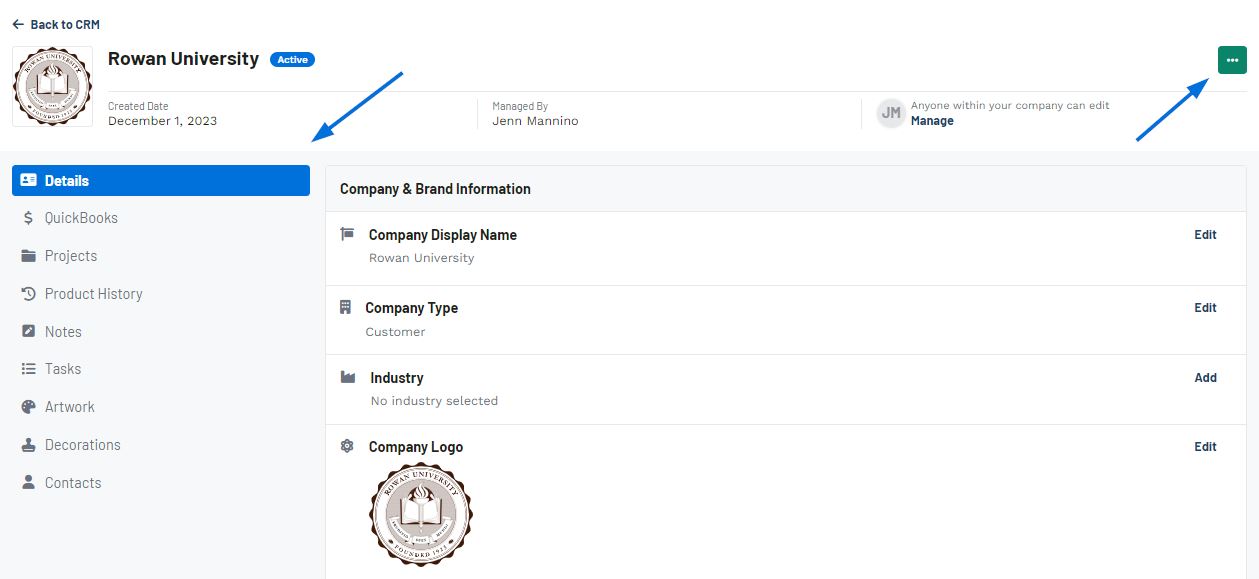
The record will be available to update at any time via the CRM. Clicking on the company's name will open the company record in CRM with numerous management options via the three dot icon and the subsections on the left.


